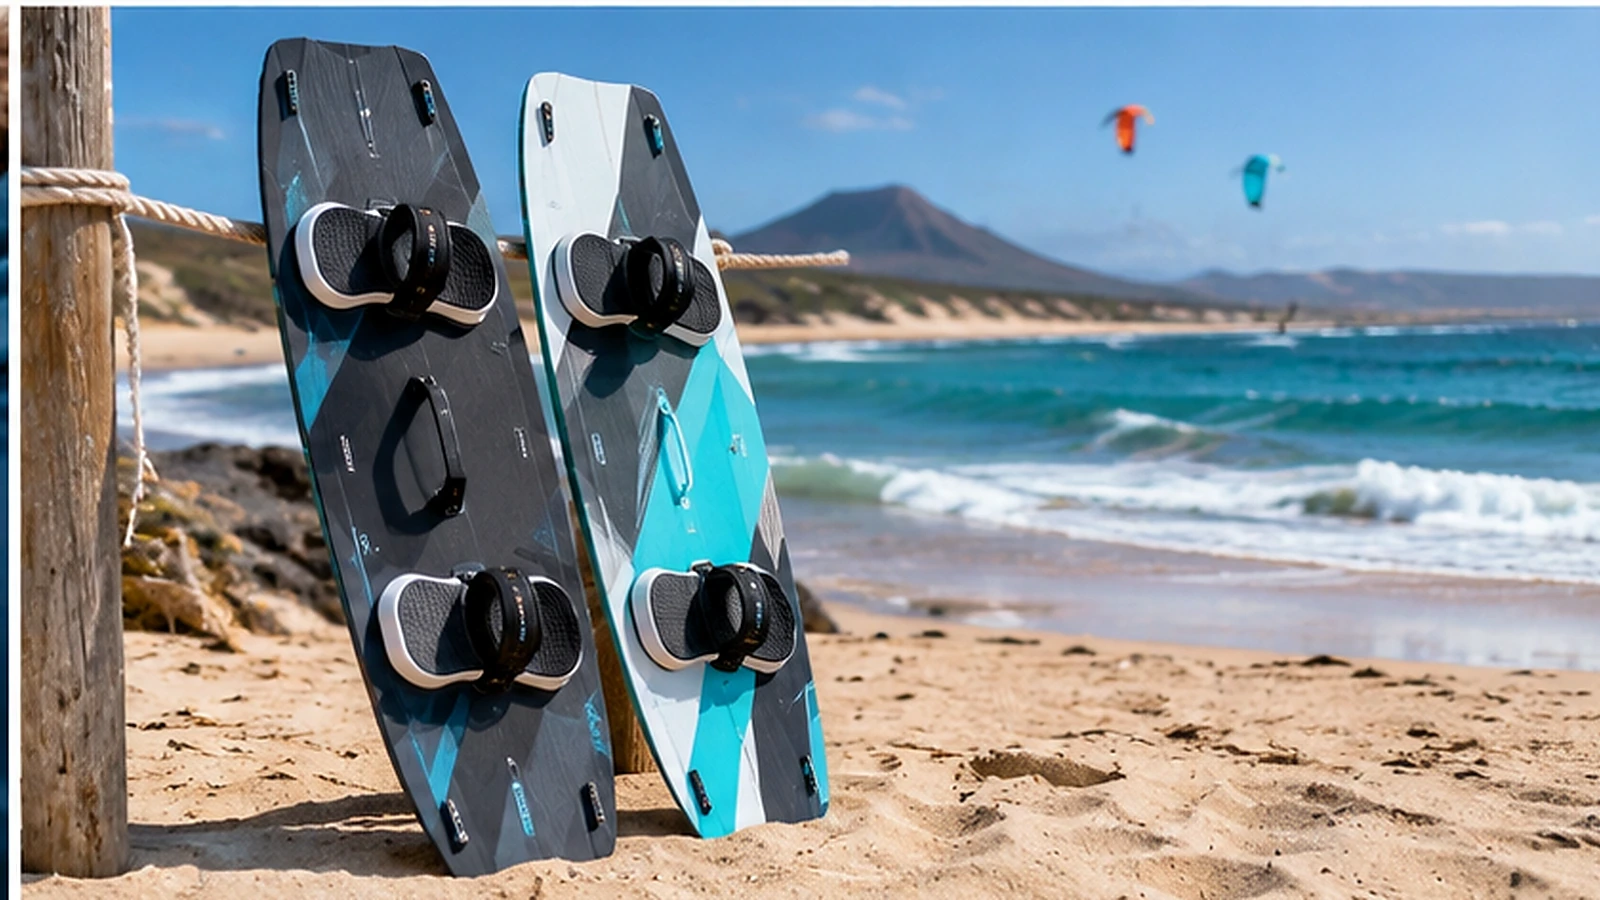
To choose a twin-tip kiteboard, start with your weight, current riding ability and the wind and water you normally ride. Then compare the board’s length and width, followed by its rocker, flex and intended riding style. A larger board is not automatically better for every beginner, and a smaller one is not automatically faster; the goal is a size you can control comfortably in your conditions.
First, understand what the measurements mean
Twin-tip sizes are commonly written as length × width in centimetres. For example, 137 × 41 means a 137 cm long board that is 41 cm wide. Both numbers matter: increasing width can change how readily a board planes and holds an edge, even if length changes only slightly.
Think of size guidance as a starting range. Rider weight, kite size, experience, local wind strength and whether you regularly ride choppy water all influence the choice. The safest comparison is between the manufacturer’s sizes for the exact model, not a universal chart copied across brands.
Length and width: the first trade-off
When a little more area can help
If you are practising water starts and staying upwind, an appropriately larger board may help with early planing and stability in lighter wind. For example, Ozone’s Base V3 twin-tip is listed by Waterfly in sizes ranging from 128 × 38 to 148 × 44 cm and is positioned for entry-level to intermediate freeride. That broad range is a reason to choose a variant rather than treat the model as one fixed board.
Going too large can make edging and turning less intuitive for a lighter rider, particularly when the wind strengthens. More surface area does not substitute for a kite of appropriate size or a good understanding of conditions.
When a smaller, more responsive board fits
A rider who already edges confidently, rides powered and wants quicker changes of direction may prefer a smaller option within their appropriate range. The best result still depends on how stiff the board is, its bottom shape and the conditions. Avoid selecting a board merely because an advanced rider uses the same dimensions.
Rocker and flex: why two boards of similar size feel different
Rocker is the curve along the board from tip to tip. A relatively flatter outline can favour early planing and efficiency, while additional rocker can help the board ride through chop and feel smoother in some powered manoeuvres, with trade-offs in low-end planing. Flex describes how the board bends under load; softer patterns can add comfort while firmer, more responsive constructions suit different performance goals.
The exact combination matters. The Base V3 is described with a moderate-to-low rocker and forgiving medium-soft flex, while Waterfly’s Code V4 is an intermediate-to-advanced freeride board with medium rocker and medium flex. Its hybrid fibreglass/carbon layup aims for a more responsive feel. This is a model-based difference, not proof that one is better for every rider.
Base V3 or Code V4? Match the board to the job
| Question | Base V3 | Code V4 |
|---|---|---|
| Typical rider | Entry-level to intermediate freeride | Intermediate to advanced freeride |
| Rocker / flex description | Moderate-to-low / medium-soft | Medium / medium |
| Main priority | Accessible control and confidence-building | All-round response, edging and powered manoeuvres |
| Relevant on-water question | Do I want an easier progression-oriented ride? | Am I ready to use a more performance-focused setup? |
Compare the full specifications of Base V3 and Code V4 before choosing a size. Ozone’s Code V4 product page also publishes model-specific indicative rider-weight ranges, but explicitly notes that conditions and preference can change the ideal size. Treat those ranges as guidance, not a guarantee.
Don’t overlook the items that go on the board
Ask whether the board comes with footpads, straps, handle and fins. A product image may show a complete setup while the sales package omits some of these items. Waterfly’s Base V3 product description, for example, discusses footpads and straps but notes that they are not included with the board and can be purchased separately. Confirm the contents of the selected variation.
Check stance width, binding adjustment and screw compatibility. Properly fitted footpads matter for control; unsuitable fittings or incorrect hardware should not be improvised. Make sure the board and bindings are suitable for the rider before taking them onto the water.
A realistic shopping example
Suppose one rider is progressing through sustained upwind runs in moderate wind, while a second rider already lands small jumps and wants more responsive turns. The first should begin with the progression-oriented Base V3 size guide; the second may want to compare the Code V4’s medium rocker and more performance-led layup. Neither example provides enough information to prescribe a single centimetre size: their body weights, kites and local conditions are still needed.
Your pre-purchase checklist
- Write down your weight, riding level, normal wind and water state.
- Shortlist two board sizes within the correct manufacturer’s guidance.
- Decide whether comfort and progression or a firmer freeride response is your main priority.
- Confirm exactly which bindings, fins and hardware are included.
- Ask the retailer to verify your preferred variant and delivery timing before payment.
Start with Waterfly’s Base V3 if you want an accessible progression board, or compare the Code V4 if your freeride skills and aims call for a different feel. The right size decision comes from your actual riding details, not the graphics on the deck.